Friday, February 28, 2014

My first digitally printed fabric has arrived!


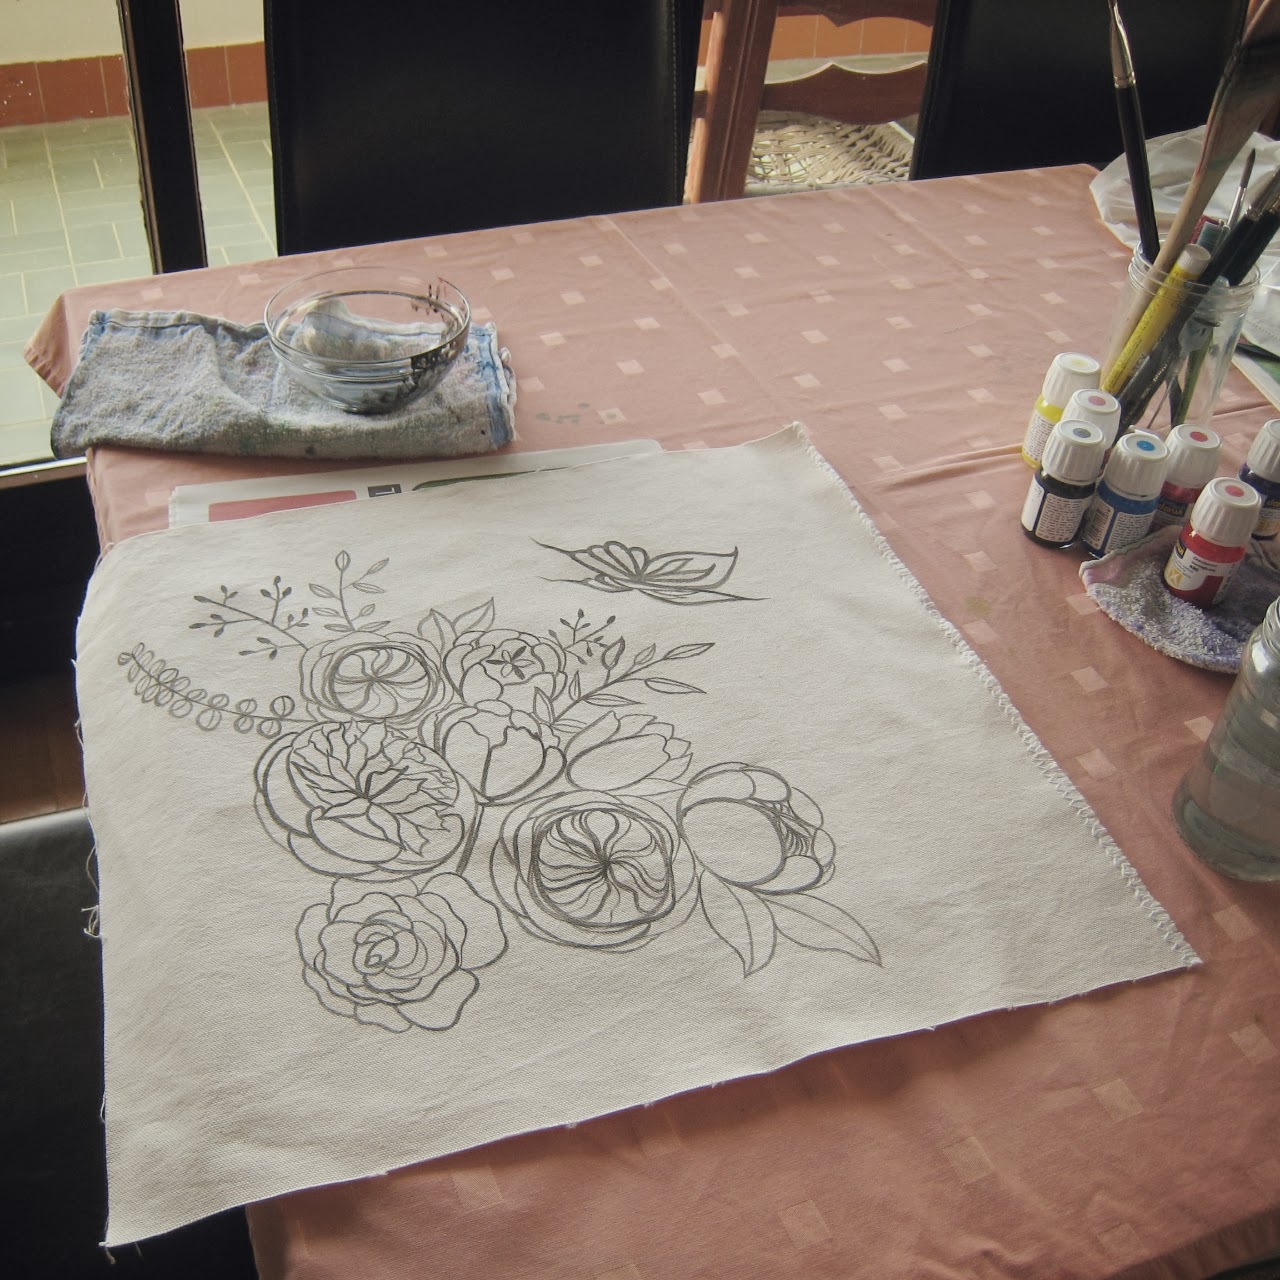
Although I still enjoy mixing dyes and get my hands dirty. My experiments with <hand-painting fabrics> gave me a wonderful idea to my next step. I wanted to take these projects a little further by going digital.

So I got right on it and made few designs with my dearest old pal, photoshop :) At first it didn't come out right, because it wasn't a flowing process like painting directly on a fabric. It took a lot of tweaking and staring at the screen, back and forth until I finally came to a print design I could say, YES to. 

I also did a lot of research to decide where to print it. Digital printing on a fabric for a small quantity and with a good quality didn't come easy locally. In the end I found <a workshop in Japan> who custom prints but keeps the tradition of kimono fabric making. So I sent the digital file to the printing shop in Japan. Unfortunately, they don't send their products oversea, so I had to arranged it otherwise. They deliver the products in 7days to a local address. For me 3wks, and now....Ta-da!


It had finally arrived! I am overjoyed. The quality is what they promised it would be. Very beautiful cotton 100% poplin, with very clear and vibrant colour!


Cannot wait to make these into little....<many things>!


Friday, February 21, 2014

Drawing on a new fabric


I continued with my little "up-cycling duvet cover projects" and made more dresses for my little girl and a bag, until I finally ran out of the cotton pieces made from that cover. 
To my pleasant surprise, these small things I made led to few more requests of bags and gadget cases from my family and friends. This was a wonderful opportunity for me to experiment with different fabrics, and on a new one this time!

Painting on new fabric was different from the used one. Firstly because I needed to pre-treat it before I could paint on it. 

My pre-treatment of the fabric is quite simple, I first sew the edges of the fabric in zigzag to stop it from fraying. Then wash it with a washing machine like I normally wash clothes without a softener. Because softener seems to leave a coating on surface of the fabric, and may prevent the paints and dyes to lock on the fibers....resulting in discoloring after the first wash. 

After few tries I discovered that I prefer to draw on a natural material like cotton or linen, because the colour appears more vibrant and also the paints seem to engage better with the fibers. 

When I finish with the drawing I usually leave it over a night to make sure it is completely dry, then heat fasten the colour by ironing it. Next, I wash the fabric to remove the excess paints and dyes. After the first wash, whatever you see usually stays. 


I also tried on T-shirts, which ended up as a disaster at first. I was starting by painting outlines with a felt tip pen type of paints at that time, but drawing on a stretchy fabric meant that you cannot apply a pressure on the fabric otherwise would smear easily. So I now use brushes only on t-shirts to draw. 


So this is how my experiments with new fabrics turned out. Discoveries one after another, and so much fun! 


Visit my gallery of past little projects <here>! :) 


Friday, February 14, 2014

Meet Pencil (a review of Pencil for paper by 53)

My title image of this blog was created in an application called PAPER by 53. And it is my latest addiction. To my surprise this application replicates the feel of drawing on an actual paper more accurately than any thing I have tried before. And I am totally hooked by its flowy process of creating a digital illustration. 
Not long ago they have released their original stlyus pen called, guess what? Pencil!
I ordered my pencil just last week, and now its here! hoooray! I'm well excited.
Everyone, meet Pencil ↓


I read several reviews on Pencil before purchasing. Many reviews said it is the best stylus pen they have tried, but I was still skeptical. Firstly because I couldn't quite tell the size of it. There was a specification of its dimentions, but what I wanted to know was more of "how would it feel in my hand?" Regular pencil is thinner and in cylinder or octagonal? This one seems to be flat and fat. But don't worry, it actually feels more comfortable this way than I imagined.


Although start using pencil is as simple as just one tap on its palette's Pencil icon, I had few tries before Pencil actually connected to my ipad. I needed to restart my ipad in order for it to connect. Pencil activates a feature of the application called "blend". It is like rubbing charcoal powders on a paper, or a term more familiar to me is blurring. 


The tip of the Pencil is a rubber cap on something solid underneath, it is not a solid rubber. And there is a small air gap between this solid core and the rubber cover. There is also a replacement tip attached to the first purchase.  


Overall I am happy with this newest gadget added to my collection, it is beautiful and made with care. Paper and a pencil, it is a perfect couple ! And I am looking forward to experiment with it more. :)


Friday, February 7, 2014

the First dress for my little girl


So the fabric is ready now <the  previous article>. And I've decided that I want to make a little summer dress for my little girl with it.
Light weight cotton is a good material for it. And I always wondered why there aren't enough dresses for little girls with large prints!

First I have to make a pattern of the dress. I picked one of her dress that is most close to the shape I want to make. Then drew an outline of half the dress on a newspaper. Placing this under a tracing paper and start altering the shape whilst maintaining the original size. Transfer this new shape on a thicker paper by drawing an outline of it or stick it directly on a thicker paper and make your new pattern.


I used a parchment paper instead of a tracing paper. ( this is a little trick i picked up from the architectural school. Very useful when you don't have a tracing paper at home)
I also recycled a thick sketchbook paper that kids had scribbled with.

A little rough on sewing, but here it is! It was all worth it because she loved it and she looked lovely in it :)


Sunday, February 2, 2014

Initial inspiration

One regular morning, after sending off the kids to school...
Like any moms would do, I went and start puffing everyone's pillow and duvet.
Though, this time followed by a {Oh My!}, one duvet cover just ripped open as I turned it over.
It was a king-size pure white cotton duvet cover. 
It seemed like a huge waste just to make all that a dusting clothes. 
Come to think of it, I could have just closed the hole by sawing it.
But my artistic curiosity made me think, this is a great canvas for me to try what I always wanted to!
I was eyeing the fabric inks at the crafting shop for weeks at that time. Plus the brand new sewing machine, a gift from my dear family for the birth of our first child, left sitting there unopened for months.
So I took a pair of scissors, and start cutting the duvet cover in squares and rectangles.
I first tried a felt tip pen type of fabric ink to draw the outlines. Then started colouring inside and outside of the outlines with brushes.
Heat fastened it by ironing, following the instructions of the ink bottle.
Then voila! My first hand-painted fabric. It is ready for crafting :) I will tell you what I did with it in the next article. <here>
It was such a relaxing experience! Just drawing without a fear because it is a scrap fabric.
And no restrictions like creating a repeated pattern, because its not a print.